A retail fit-out contractor needs the landlord's rules, the unit's existing condition and the store's operating brief before giving a useful response. Assemble those inputs into one unit pack. It should explain what is fixed, what still needs design development, and which decisions the contractor must coordinate with the landlord, authorities and specialist suppliers.
Collect the property documents first
Ask the landlord or mall delivery team for the current fit-out manual, unit handover information and submission templates. Record the unit number, jurisdiction, permitted use and the contacts responsible for design review and site access.
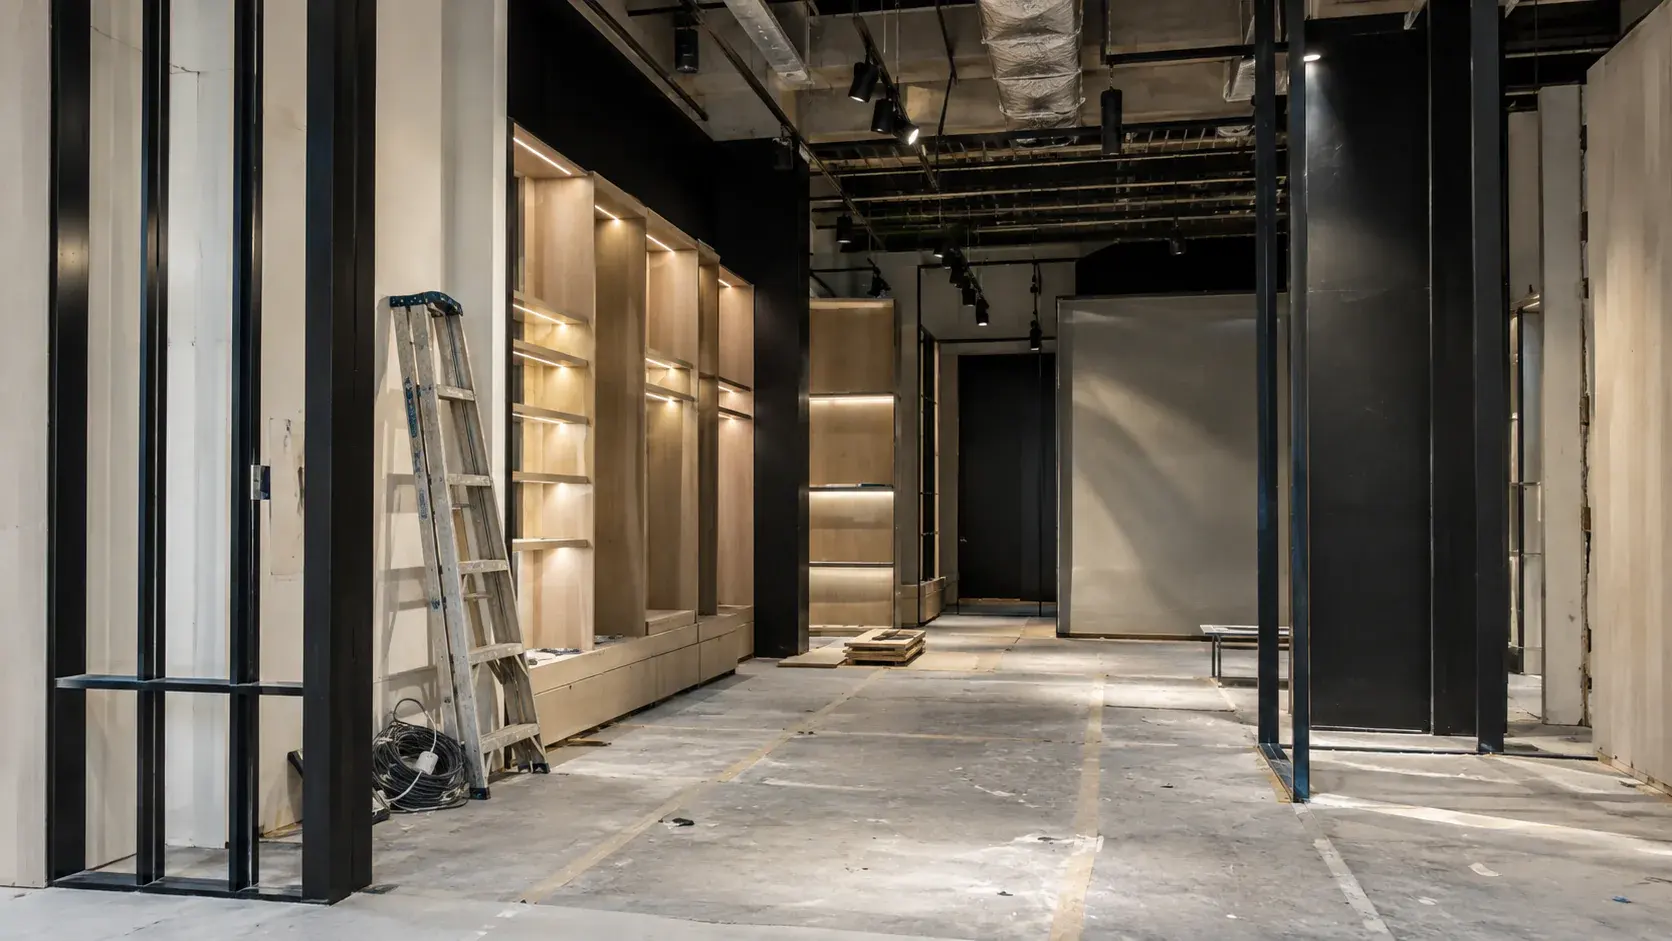
Include available base-build drawings and surveys. Mark the incoming power, HVAC connection, drainage points, fire and life-safety interfaces, shopfront boundary and any service corridors or loading routes. The appointed team should verify site conditions before relying on that information for construction.
Halo's retail fit-out page notes that mall guides differ and there is no universal Dubai retail checklist. The same page identifies staged design submissions, site-access controls and completion requirements as common workstreams whose details depend on the centre.
The Dubai Development Authority's fit-out permit service covers office and retail work within its jurisdiction. Its published document list includes the tenant's contractor appointment, Ejari, owner NOC and drawings. Use the correct route for the unit rather than copying a submission list from another property.
Explain the store as an operation
Give the contractor a short description of what the store sells, how stock arrives and what staff must do during a normal day. Include opening pattern, peak periods, likely customer groups and any service that changes the layout, such as fitting, collection, consultation or repair.
Add a merchandise schedule by category. Note which products hang, fold, sit behind glass, require power or need controlled storage. This determines fixture types and affects the density of the plan.
Map the customer route from threshold to product, service point and exit. Map the staff route from receiving to storage, replenishment and sale. Halo's retail interior operations brief provides a broader method for testing those paths before the design is fixed.
Define the shopfront boundary
The pack should show the lease line, permitted shopfront zone, entrance arrangement, signage area and any landlord-controlled finishes. Ask the delivery team which drawings and samples it reviews and at what stage.
State who develops the shopfront details, coordinates signage power and confirms how the closure, glazing and adjacent finishes meet. If hoarding or barricade information is required before access, place it in the same responsibility schedule.
Avoid asking bidders for a generic feature entrance. Give them the current design criteria and the brand requirements that the landlord must review.
Schedule every fixture and counter
Create a fixture list with an identifier, purpose, approximate product load and required services. Include wall bays, gondolas, plinths, showcases, cash desks, consultation counters and back-of-house storage where relevant.
For each item, clarify whether the contractor designs and manufactures it or coordinates a brand-supplied fixture. Show where power, data, lighting or security devices enter the unit. Ask for shop drawings and sample approval before manufacture.
Halo's in-house joinery service can cover retail counters and display fixtures within the wider fit-out. Keeping the fixture drawings and site services in one coordination process helps prevent a finished unit arriving with sockets behind closed panels or access points blocked by shelves.
Put lighting and MEP beside the merchandise plan
Identify the products that need accent lighting and the locations where the store team expects flexible displays. Record equipment loads and operational requirements for cash desks, digital displays, pantry items, specialist equipment and security systems.
Ask the contractor to show ceiling equipment, lighting, HVAC and fire-system interfaces on a coordinated reflected ceiling plan. Technical design and approval must be completed by the appropriate qualified parties for the unit. A visual lighting sketch cannot replace that work.
If fitting rooms are included, test the full-size prototype before repeating it. Halo's retail fitting-room checklist covers privacy, mirrors, lighting, accessibility, staff workflow and maintenance as a separate decision task.
Record the opening and handover constraints
Give bidders the target opening context, then ask them to build a programme around approvals, long-lead information, landlord inspections, commissioning and snag closure. Do not accept a single completion line with no dependencies.
List the documents the store team will need at handover. These may include approved drawings, relevant test and commissioning records, fixture and equipment information, maintenance instructions, warranty terms and the landlord or authority close-out evidence that applies to the unit.
Keep the unit pack under revision control. When the brand or landlord changes a requirement, record the decision and issue the updated page to every responsible party.
Halo can review the unit pack through its retail fit-out team, including space planning, joinery, lighting and MEP coordination. Send the location and current documents before the site assessment so the right approval and delivery questions can be prepared.