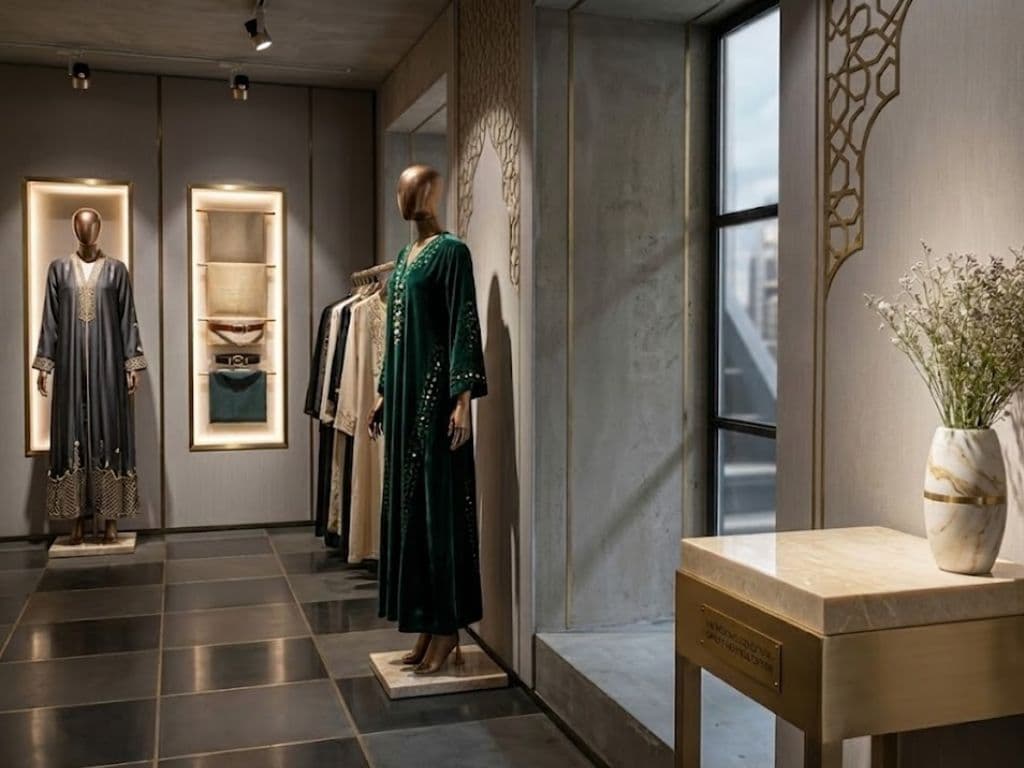
Before selecting finishes, decide how the shop has to work on an ordinary busy day. A useful retail interior brief shows where a customer enters, what they should see first, how they move through the space, where staff replenish stock, and which walls and ceilings must carry services. If those decisions agree, the display joinery and lighting can be developed around a workable operation rather than correcting it later.
This is a planning guide for an operator, not a substitute for site-specific design, safety or approvals advice. For any proposed work, confirm the applicable route with the property owner, landlord, free-zone authority or competent authority before releasing the technical package.
Begin with one customer journey
Write the journey in plain language before drawing the layout:
- What should a passer-by understand at the threshold?
- Which product group needs to be encountered first?
- Where should a customer be able to pause, compare or ask for help?
- How does the route reach the final display or fitting area without creating a dead end?
- Where does the customer pay or leave without disrupting people still browsing?
The goal is not to choreograph every step. It is to give the design team a clear hierarchy: arrival, discovery, consideration and exit. Mark it on a simple plan with arrows and keep the route visible as display units, tables and feature walls are added.
Build the brief around four zones
| Zone | Operator decision | Coordination questions for the fit-out team |
|---|---|---|
| Threshold | What must be immediately visible from the entrance? | Is the frontage, entry line and first display clear of opening doors, security equipment and unavoidable building elements? |
| Discovery | Which merchandise should guide the customer deeper into the shop? | Are display heights, sightlines, lighting positions and flexible fixture locations shown on the same plan? |
| Service | Where do staff advise, wrap or hand over items? | Does the counter have the required power, data, storage, cable management and secure access without becoming a barrier? |
| Back-of-house | How do stock, cleaning and staff movement happen away from the customer route? | Are replenishment paths, storage doors, service panels, ventilation access and waste handling kept workable after joinery is installed? |
This approach keeps a common conflict visible: the sales floor may look open on a concept plan while the staff route behind the display wall has never been resolved.
Make the display plan more specific than "shelving"
A display element needs an operating description. For each wall, table, plinth or cabinet, note:
- what it holds and how often that changes;
- the product depth, weight and access required;
- whether staff need to replenish it from the front or behind;
- the lighting direction and where its driver, wiring and access point sit;
- which surfaces must tolerate regular handling and cleaning; and
- whether the element has to move, expand or be removed for a new range.
That information turns a reference image into something a joinery and fit-out team can coordinate. The practical next step is to put the product and service requirements on the drawing, rather than assuming a visual concept answers them. See Halo's joinery service for display units, shelving, counters and storage.
Coordinate the customer plan, staff plan and technical plan together
Use three simple overlays before a layout is fixed.
1. Customer overlay
Show entrance, primary route, pause points, fitting or consultation areas, payment point and exit. Test it with the largest intended display footprint, not only with empty floor space.
2. Staff overlay
Show stock movement, counter access, replenishment route, staff-only storage, cleaning access and any handover point. If this path crosses the customer route repeatedly, resolve it before fixtures are fabricated.
3. Technical overlay
Show electrical points, data, lighting tracks or fittings, air-conditioning grilles, access panels and any base-build constraints supplied for the unit. A counter or full-height display wall should not quietly block an item that needs later access.
The overlays are a useful briefing tool because they identify interfaces that belong in one coordinated package — MEP, ceiling work, electrical work, wall finishes and joinery — rather than being settled separately by each trade. Review the turnkey fit-out scope.
Treat the approvals route as an early design input
Retail units do not share one universal process. A mall, a street-facing unit, a community retail space and a free-zone unit may each have different owner, landlord or authority requirements. Ask for the governing fit-out guide, design-submission requirements and working constraints at the start, then keep them alongside the concept plan.
Use this short verification list:
- Who controls the unit's design approval and site-access process?
- Which existing drawings and building information are available for the unit?
- Which proposed changes need a scope-specific review before work proceeds?
- What information must the design and technical package show for review?
- Who confirms access, safety and service arrangements during the work?
A general checklist is a reference route, not proof that a particular retail change has been approved. Confirm the requirements for the actual unit with the relevant parties before releasing the technical package.
Make the counter and display wall part of the same decision
A counter, its nearby display and the storage behind it should be drawn and reviewed as one operational area. The customer-facing finish, staff access, equipment locations, lighting and replenishment route all occupy the same small part of the plan, and separating them is what produces a polished front with an awkward staff operation behind it.
What to bring to the first fit-out review
Prepare the following before asking a team to develop the layout:
- unit plan, photographs, landlord or owner information and any available base-build drawings;
- product categories, display priorities and approximate fixture footprints;
- the written customer journey and staff route;
- counter, storage, power, data and lighting requirements;
- the expected cleaning and replenishment routine; and
- the confirmation questions for the relevant approvals route.
Where a display or layout decision needs to be clarified before manufacture, Halo 3D Studio can resolve it through drawings and visualisation.
FAQ
What should be decided before a retail layout is designed?
Decide the customer journey, display priorities, staff route, stock handling, counter role and known technical constraints. These are the choices that determine whether the final layout can support both merchandising and day-to-day operations.
Is a retail concept image enough to approve display joinery?
No. Use it to agree the visual direction, then add dimensions, product assumptions, opening requirements, lighting locations, service access and staff-side storage to the drawing package before manufacturing or installation is released.
Why should the counter be planned with the back-of-house area?
The counter often needs staff circulation, storage, equipment, power, data and secure access at the same time. Planning it with the nearby back-of-house route prevents a polished customer-facing element from creating an awkward staff operation.