Before drawing a walk-in wardrobe, count what will live in it. Ten long garments need a different hanging zone from a wall of folded clothes. Add the way people enter and dress, then decide where the cabinets belong.
List the contents before choosing the layout
Count long garments, shorter hanging items, folded clothes, shoes, bags, luggage and jewellery or accessories. Note what two people need to access at the same time, and whether seasonal items can be stored higher up. That count gives the joiner something specific to draw.
Separate hanging zones by the garments they serve. Drawers are useful for items that should not be stacked on open shelves; open shelves can work for bags or frequently used folded items when dust is not a concern. Deep, dark cupboards may look tidy in a rendering but are frustrating when their contents disappear at the back.
Test the clearances in plan
The aisle belongs in the drawing before the cabinetry is ordered. Check door openings, drawer pull-outs, mirror positions, bench depth and how a person moves past another person. Open a drawer on the plan and see what happens to the aisle. Do the same with hinged doors and the dressing position. Storage capacity means little if two people cannot move comfortably through the room.
Record fixed constraints as well: windows, fan-coil access, electrical boards, ceiling access panels, plumbing routes and the room's ventilation. Do not box in an item that must be serviced later. A joinery elevation alone rarely shows those conflicts, so ask for plan, elevation and section views before manufacture.
Plan internal wardrobe lighting
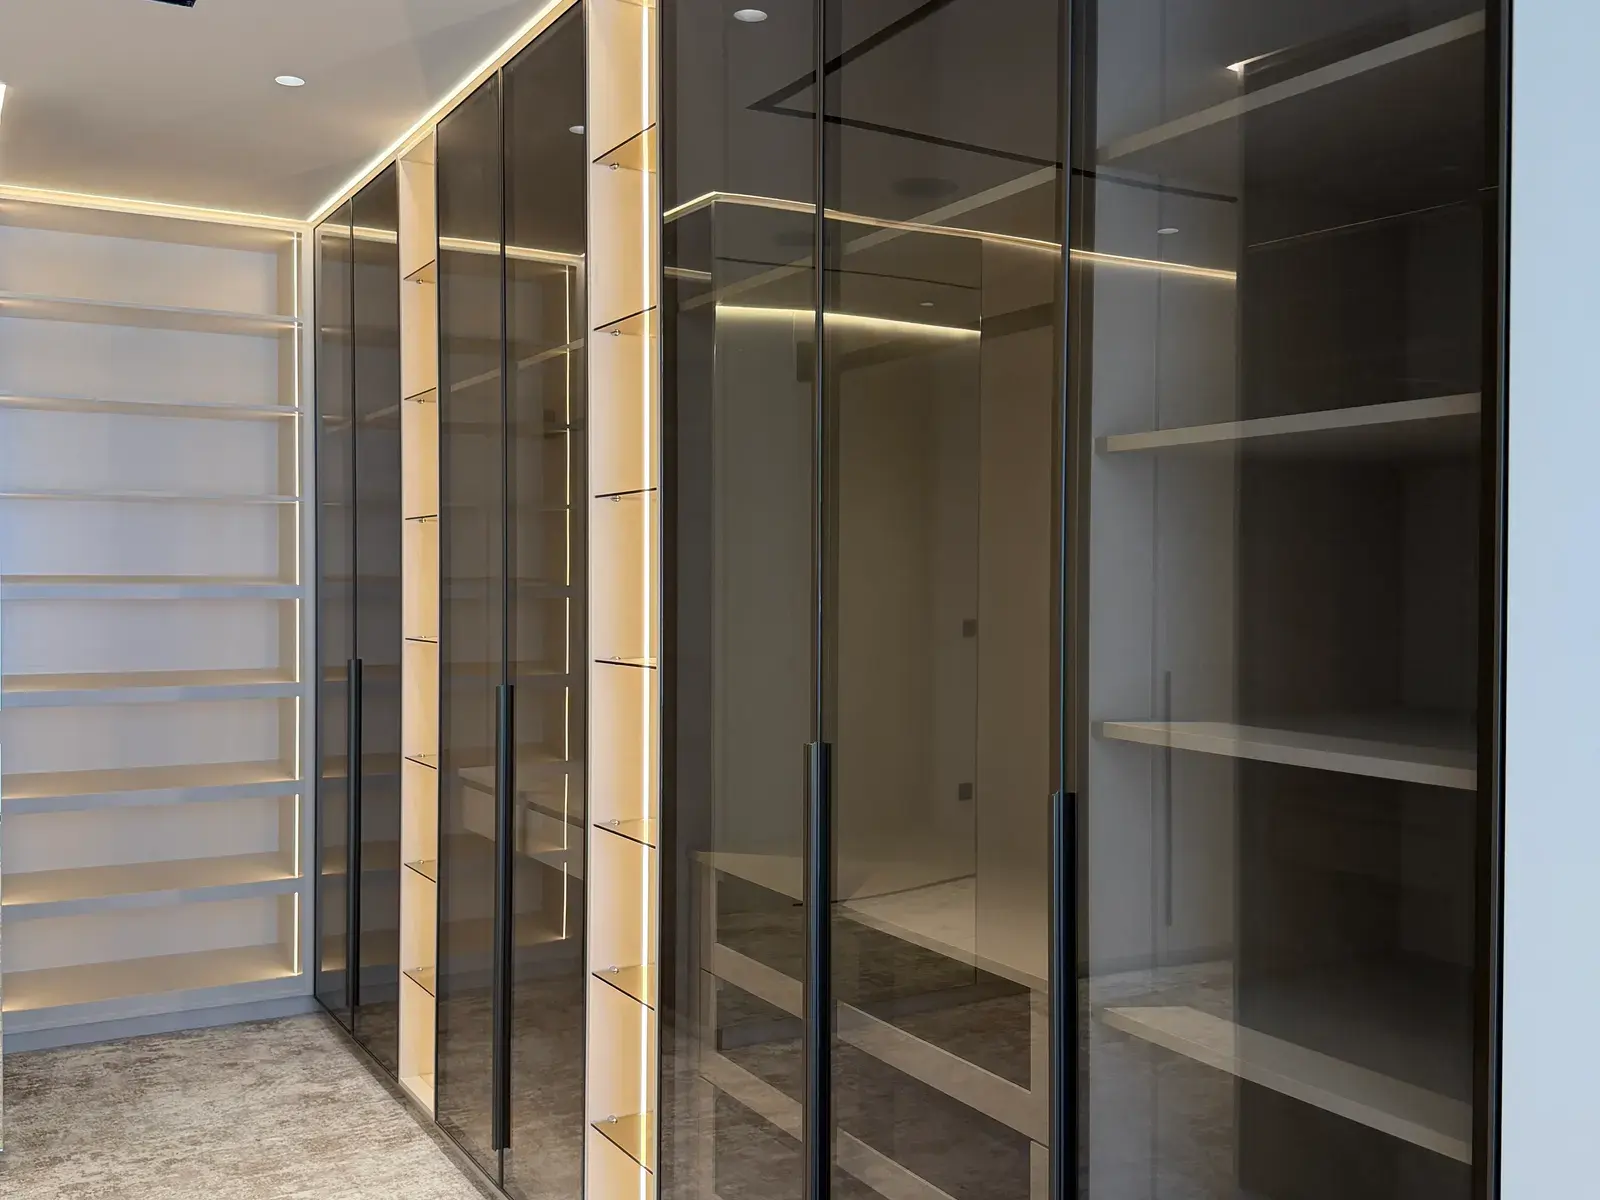
Ceiling lighting may leave the back of shelves dark and make clothing colours hard to judge. Integrated lights can help. Show the driver, switch or sensor on the drawing, along with a way to reach them later. Make sure mirrors are lit evenly and avoid a strong downlight directly behind the person using one.
Lighting should be coordinated with the joinery construction and the electrical first-fix. Adding it after installation usually leaves exposed wiring or compromises the clean lines that the wardrobe was meant to achieve.
Choose finishes for daily use
Touch samples before confirming them. Drawer fronts, handles, hanging rails and shelf edges are used constantly. A high-gloss surface may show fingerprints; a very dark interior can make clothes hard to see; a heavily textured finish can be difficult to clean in a narrow aisle. The better choice depends on the household and the room, so view the sample under the wardrobe's actual lighting where possible.
Halo's wardrobe and walk-in wardrobe service is made through its in-house joinery capability. For a broader renovation, the wardrobe can be coordinated with bedroom lighting, flooring and cooling services before drawings go to the workshop.
The approval checklist for a walk-in wardrobe
Before signing off the joinery, confirm the following:
- a storage list for each user, including long hanging and seasonal items;
- clear floor space with doors and drawers open;
- internal lighting, drivers and access for maintenance;
- mirror, bench and dressing-point positions;
- ventilation and all existing service-access requirements; and
- the exact finish, edge detail, handles and internal fittings shown on samples.
Once the cabinets are installed, changing a blocked access panel or narrow aisle is a much bigger job.