The strongest villa interior design brief is not a list of finishes. It is one document that says how each room will be used, what must be stored there, where services need to land, and which decisions have to agree across the whole home.
For a Dubai villa owner, that brief should be completed before ceilings close, joinery is manufactured or individual rooms are designed in isolation. It gives the design and fit-out team a shared reference for the choices that are expensive to reverse: circulation, plumbing points, electrical positions, cooling coordination, lighting layers, window treatment allowances and built-in storage.
This guide is not a style catalogue. Use it to decide what has to be resolved before the fit-out package is released.
Start with one household map, not separate room wish lists
Write down the household patterns that affect more than one room. This turns a collection of preferences into design information.
- Who uses the villa on a typical weekday, and which rooms are in use at the same time?
- Which arrivals need a place for shoes, bags, charging and keys?
- Which rooms host guests, and which need privacy or acoustic separation?
- What needs to be stored out of sight, and what must be easy to reach daily?
- Which routines need water, drainage, dedicated power, data or equipment access?
- Which rooms change role during the year: a guest room used as a study, a lounge used for family gatherings, or a dining room used for work?
Keep this map at the front of the brief. A bedroom wardrobe, a family lounge, a kitchen and an entrance can all look coherent while failing the same daily routine if the storage and circulation assumptions differ.
Make four decisions for every room
Use the same four headings for every room. Consistency makes clashes visible early.
| Brief heading | What to decide | What the team needs to coordinate |
|---|---|---|
| Use and circulation | Who uses the room, when, and what routes must stay clear | Door swings, furniture footprints, seating, access to windows and service panels |
| Fixed elements | What is built into the architecture or joinery | Wardrobes, media units, vanities, wall panels, niches, islands, mirrors and shelving |
| Services and lighting | What has to be placed before finishes conceal it | Power, data, lighting controls, drainage, water points, ventilation, AC diffusers and access hatches |
| Finish logic | Which materials are repeated and where transitions occur | Floor levels, skirting, wall finishes, stone edges, paint colours, hardware and maintenance needs |
The question is not whether every room has the same materials. It is whether the transition between rooms has been deliberately drawn and specified.
Treat the living areas as a connected route
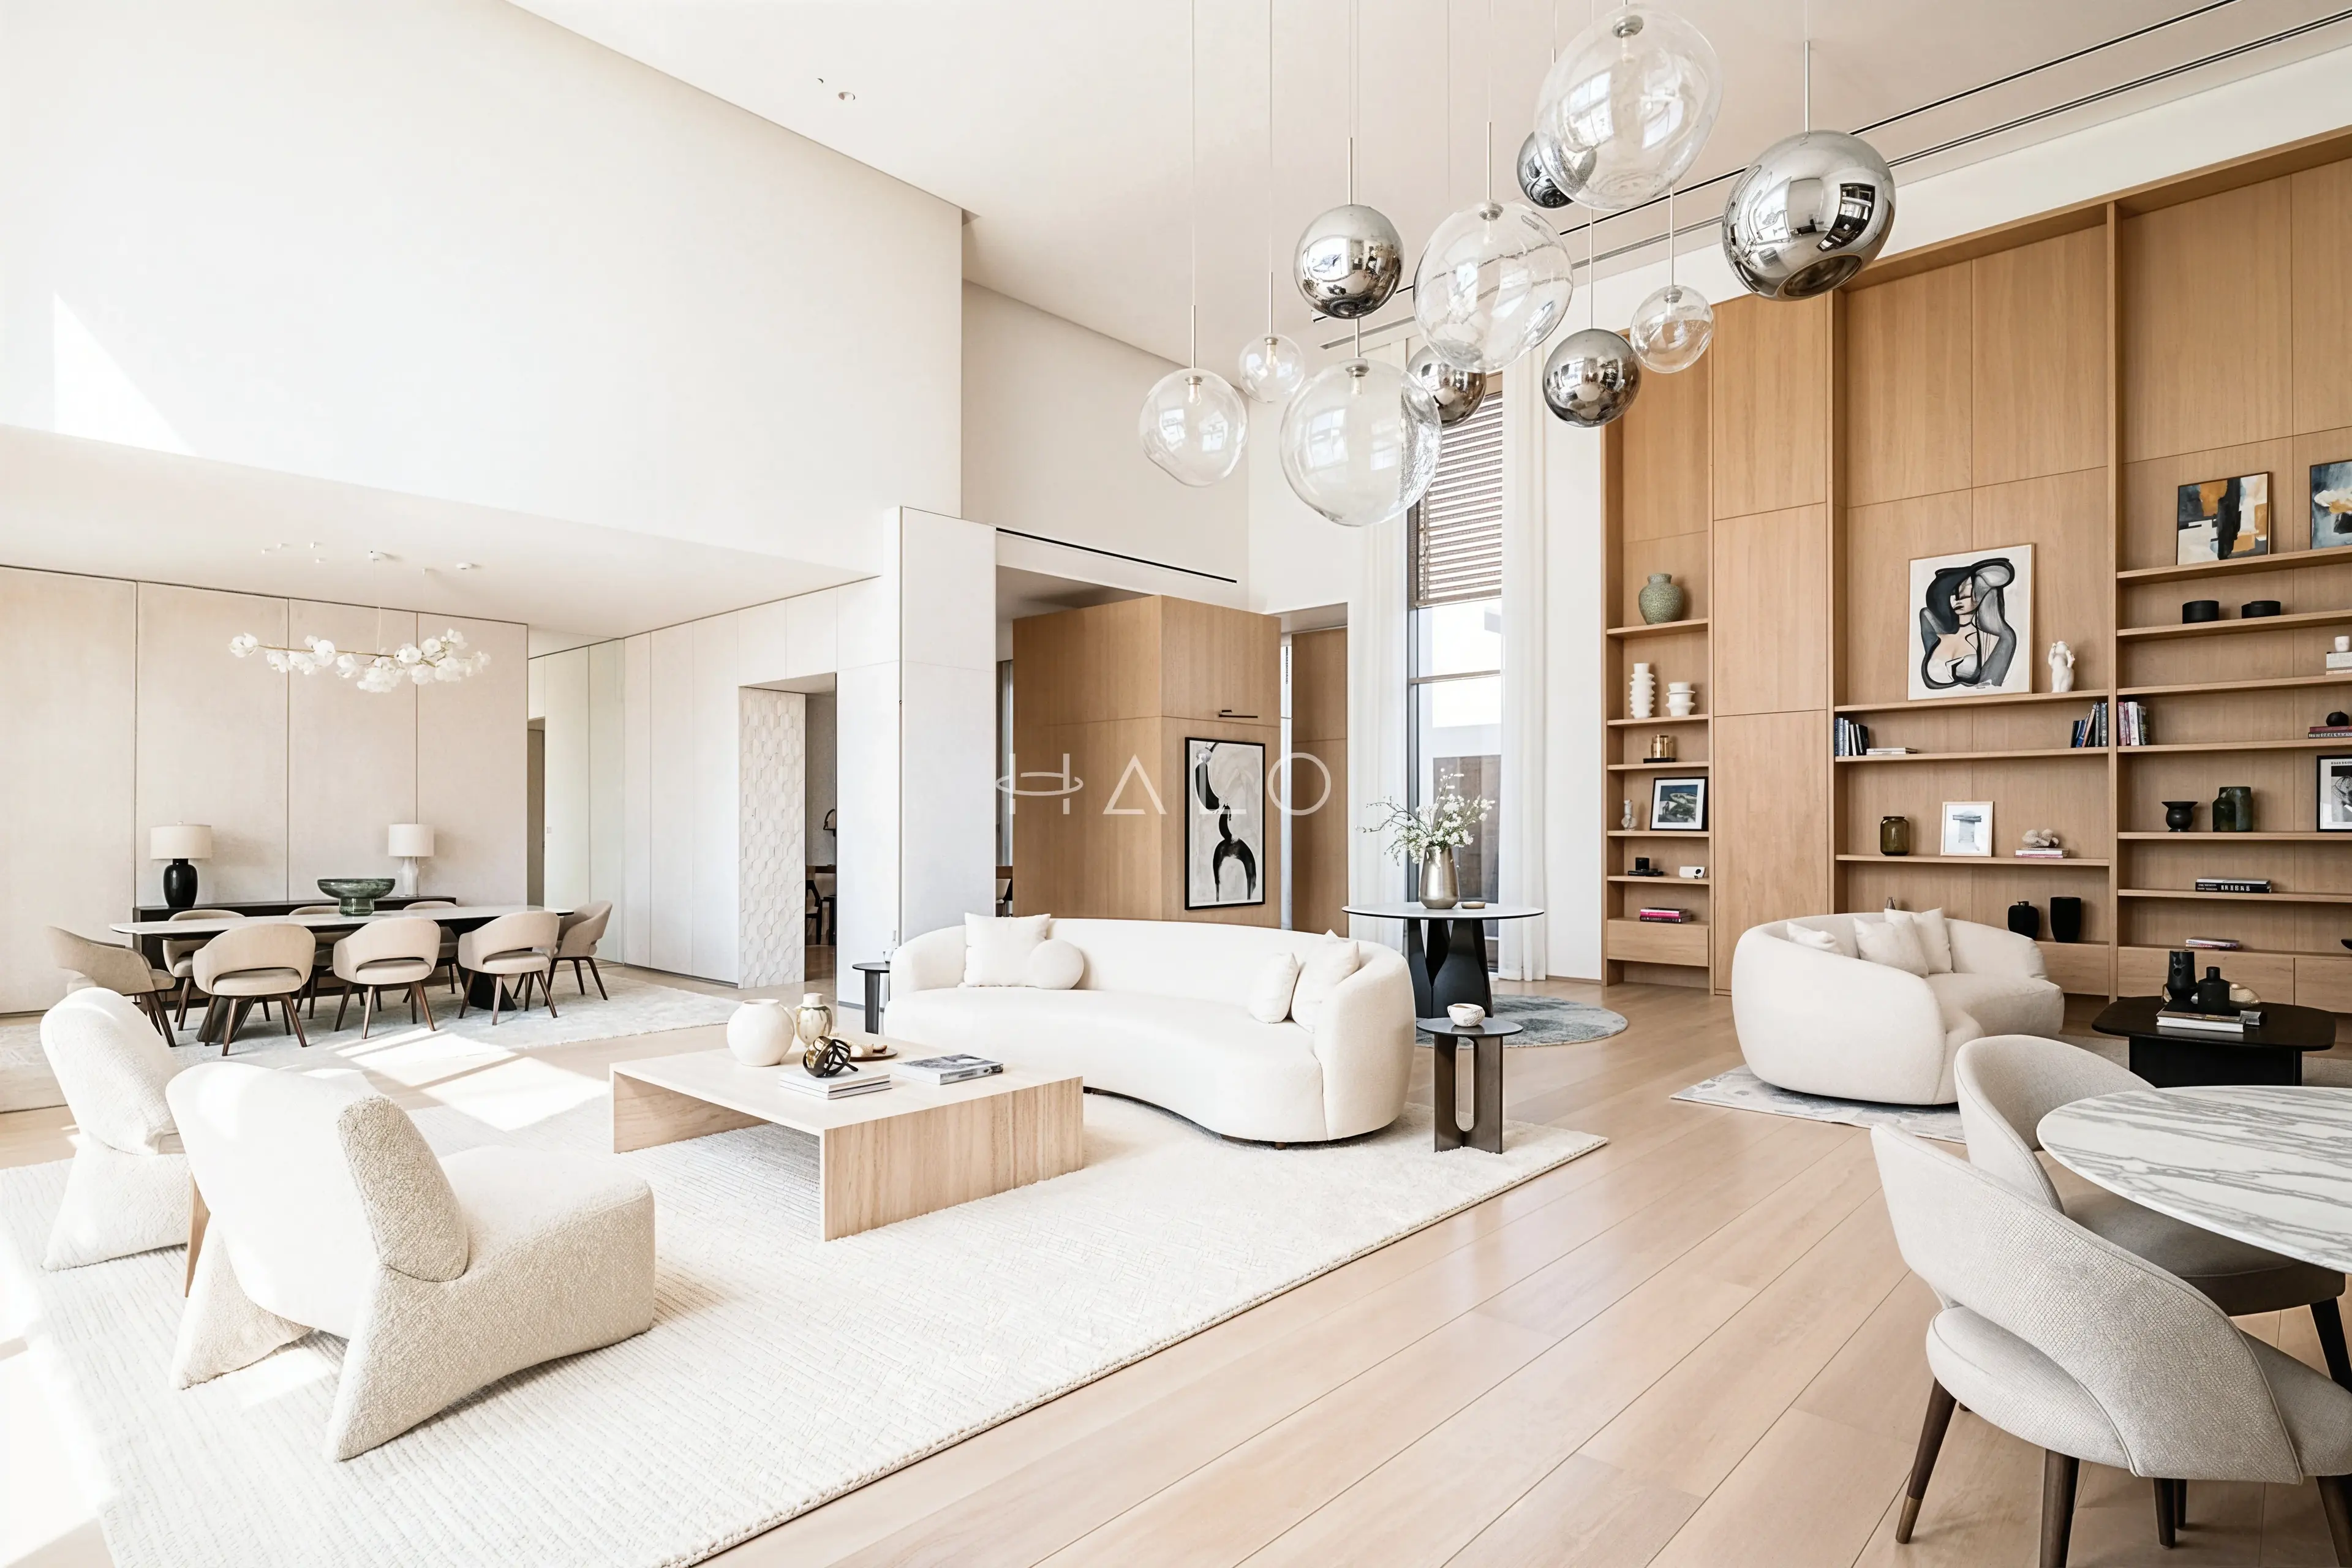
In a villa, entrance, living room, family lounge, dining area and stairs are usually read together. Brief them as one sequence before treating them as individual decorative schemes.
- Mark the main arrival route and the route used when guests are present.
- Decide where bags, footwear and everyday clutter are allowed to land.
- Identify the walls that need power, data or concealed cable routes before a media unit or feature wall is detailed.
- Set a lighting hierarchy: general light for movement, focused light for tasks, and softer light for evening use.
- Agree which floor and wall transitions will be visible from the entrance, lounge and stairs.
If a media wall, panelled feature wall or concealed storage is part of the concept, the depth, cable path, ventilation allowance and access to equipment should appear in the drawing set — not only in a reference image. See Halo's joinery service and 3D Studio for the drawing outputs that make those details reviewable.
Give bedrooms a privacy-and-storage brief
A bedroom brief should explain the morning and evening routine, not just the preferred headboard wall.
- Confirm where wardrobe doors, drawers and bedroom doors can open at the same time.
- Separate everyday storage from occasional storage so the joinery does not become a single deep, awkward volume.
- Decide where charging, reading light and bedside controls need to be reachable from the bed.
- Keep any dressing, vanity or study position aligned with the actual route to the bathroom and wardrobe.
- Ask for daylight control and AC diffuser positions to be reviewed alongside the bed, desk and dressing mirror — not after the ceiling is fixed.
The goal is a room whose storage, lighting and cooling work around the furniture plan. It is not enough to select the furniture first and solve every service around it afterwards.
Brief kitchens, bathrooms and utility areas around access
Rooms with water, drainage and appliances need a clear service-access plan. A beautiful finish cannot compensate for a shut-off, trap, appliance connection or service panel that cannot be reached for maintenance.
For each wet or utility area, record:
- the appliance and fixture schedule;
- which walls need water, drainage or electrical connection;
- which panels, valves, filters or traps require future access;
- the intended storage for cleaning items and daily supplies;
- the finish changes around splash, moisture and cleaning zones; and
- the ventilation or cooling elements that cannot be blocked by joinery or a bulkhead.
Test cooling and daylight before interior elements are fixed
Dubai summers put sustained demand on cooling and daylight control. That does not prescribe a particular interior solution, but it is a practical prompt to ask better questions before interior elements become fixed.
- Where does direct sun make a room uncomfortable at the times it is actually used?
- Does the furniture plan leave AC diffusers and return-air paths unobstructed?
- Can curtains, blinds or shading be installed without interfering with lighting pockets, ceiling details or window operation?
- Are service access points still reachable after a ceiling feature, full-height wardrobe or wall panelling is installed?
- Is there enough task light for rooms that may be used with daylight control closed?
Ceiling works, lighting, MEP and HVAC, electrical rewiring, plumbing and drainage all occupy the same walls and ceilings as the design choices. Those interfaces belong in the pre-fit-out brief. Review the turnkey fit-out scope. Where the whole property is being reworked rather than a single room, Halo's villa renovation service carries those trades under one programme.
Put approval questions in a separate, early column
Avoid assuming that an attractive change is automatically a straightforward interior item. Mark each proposed change as one of the following:
| Change type | Brief question to resolve before site work |
|---|---|
| Layout or partition change | Does the plan affect building services, fire strategy, access or a community-controlled element? |
| Ceiling or lighting change | Are diffuser locations, access hatches, detectors and control points coordinated in the reflected ceiling plan? |
| Plumbing or electrical change | Has the existing condition been checked and has the new point been shown in the coordinated drawings? |
| Joinery or feature wall | What needs to sit behind it, and how will equipment or services be accessed afterwards? |
| External-facing or structural work | Which competent authority and community approvals apply to this exact scope? |
Requirements depend on the exact scope, property and authority. Make the approval route a visible part of the project brief rather than discovering it after design decisions are fixed, and confirm the scope-specific requirements with the relevant competent authority and the villa community before committing the technical package. See Halo's residential fit-out overview.
A concise brief to bring to the first design review
Before asking for a final design direction, prepare one page for each room and attach:
- a simple existing-plan sketch or measured layout;
- photos of the room, windows, ceiling, visible services and problem areas;
- the four decisions: use, fixed elements, services and lighting, and finish logic;
- a list of items that must fit, with dimensions where known;
- links or images showing the desired atmosphere, labelled by the detail you are responding to;
- changes that may need authority or community confirmation; and
- unresolved decisions, clearly marked rather than hidden in a mood board.
Then review the room pages together. The first objective is not to choose every finish. It is to make sure a bedroom's storage, a living room's lighting, a kitchen's services and the villa's common circulation all point to the same daily life.
FAQ
Is villa interior design only about selecting a style?
No. A style direction can guide colour, materials and forms, but the design brief also needs room use, circulation, storage, services, lighting and maintenance access. Those decisions make the style workable after installation.
When should joinery be designed in a villa project?
Start the joinery brief once the room layout and service positions are understood, then coordinate dimensions, power, data, lighting and access before manufacturing. This prevents a unit from concealing equipment or conflicting with a door, window or diffuser.
Do all villa changes need the same approval route?
No. Requirements depend on the exact scope, property and authority. Record possible approval questions early, then confirm them with the relevant competent authority and the community before finalising the technical package.