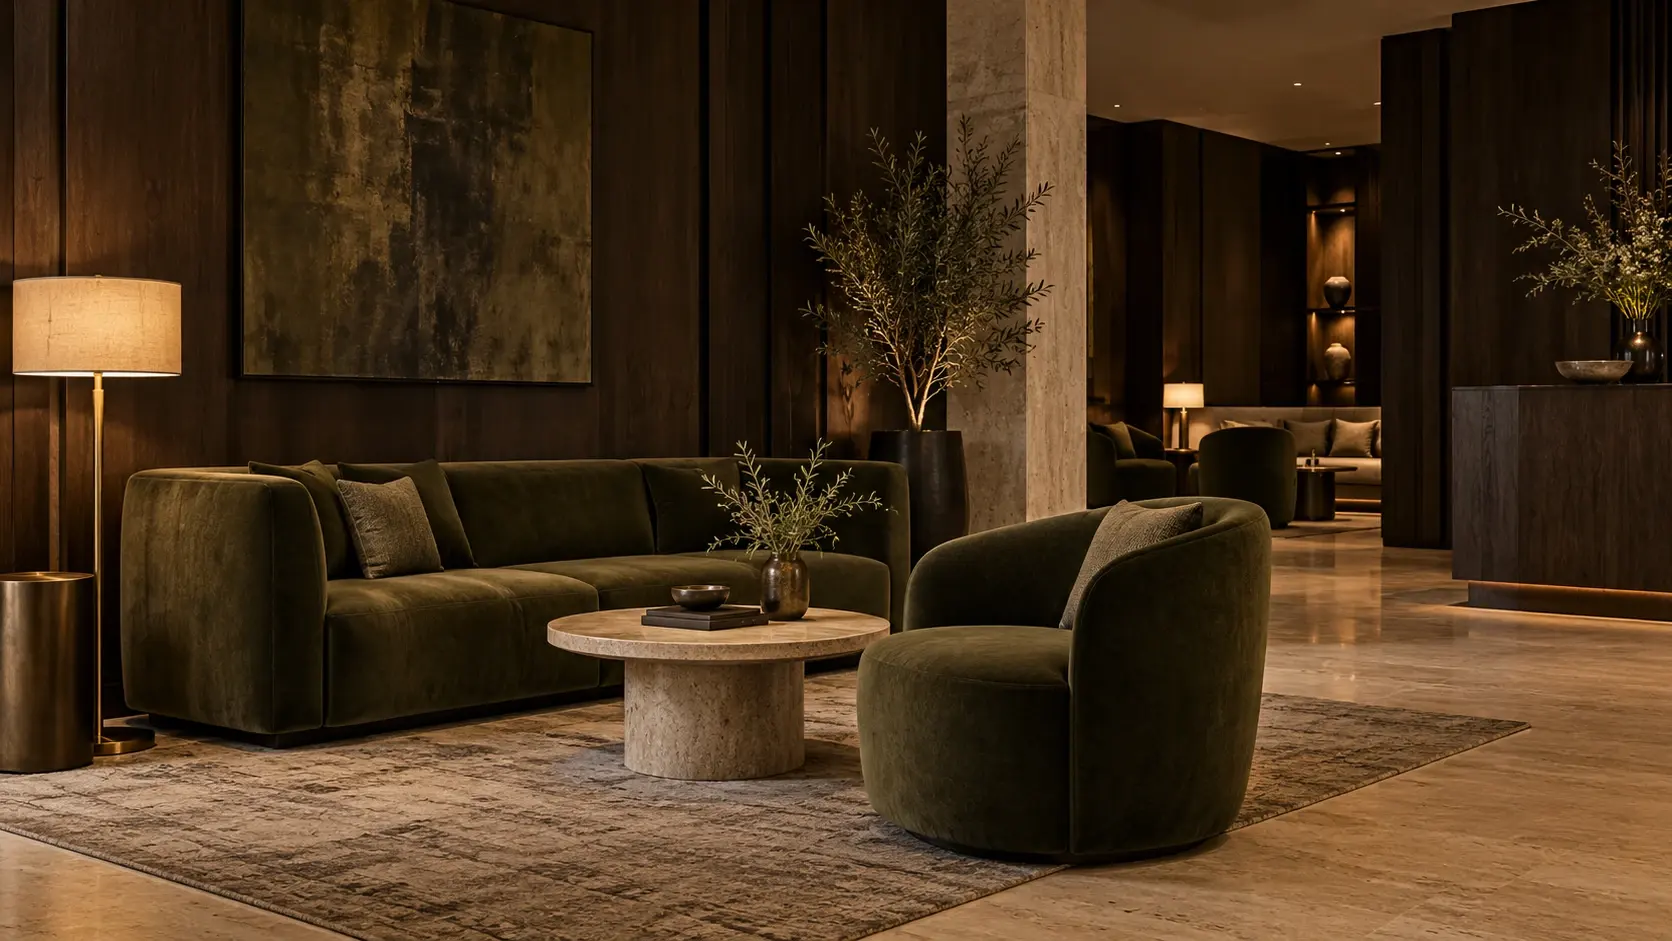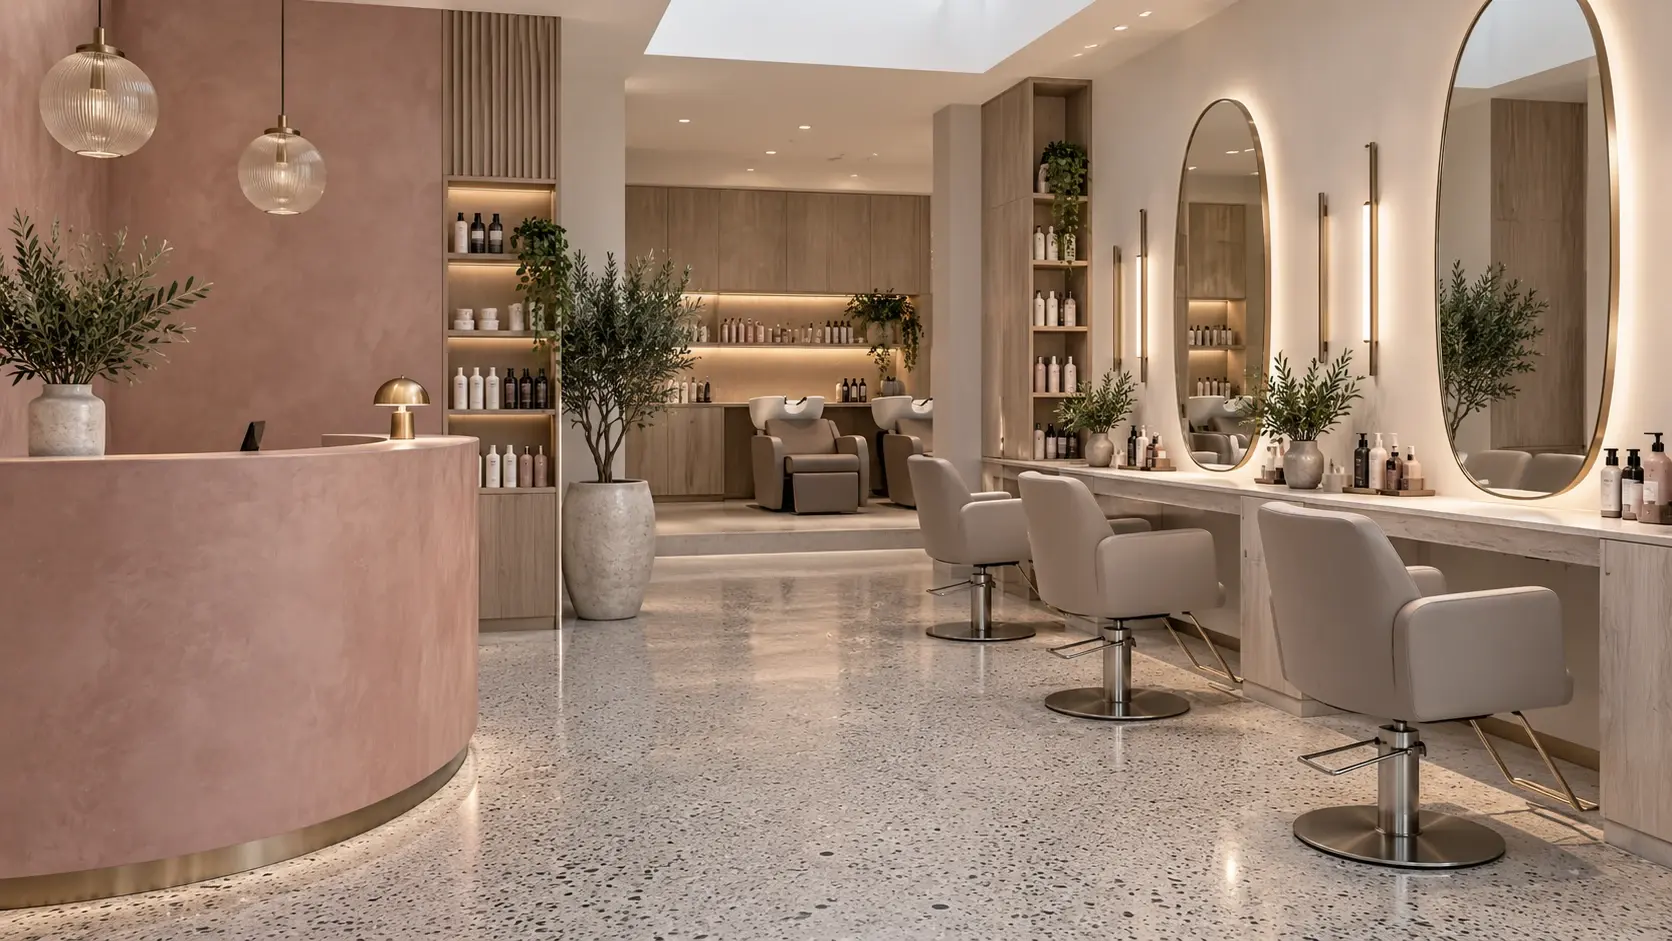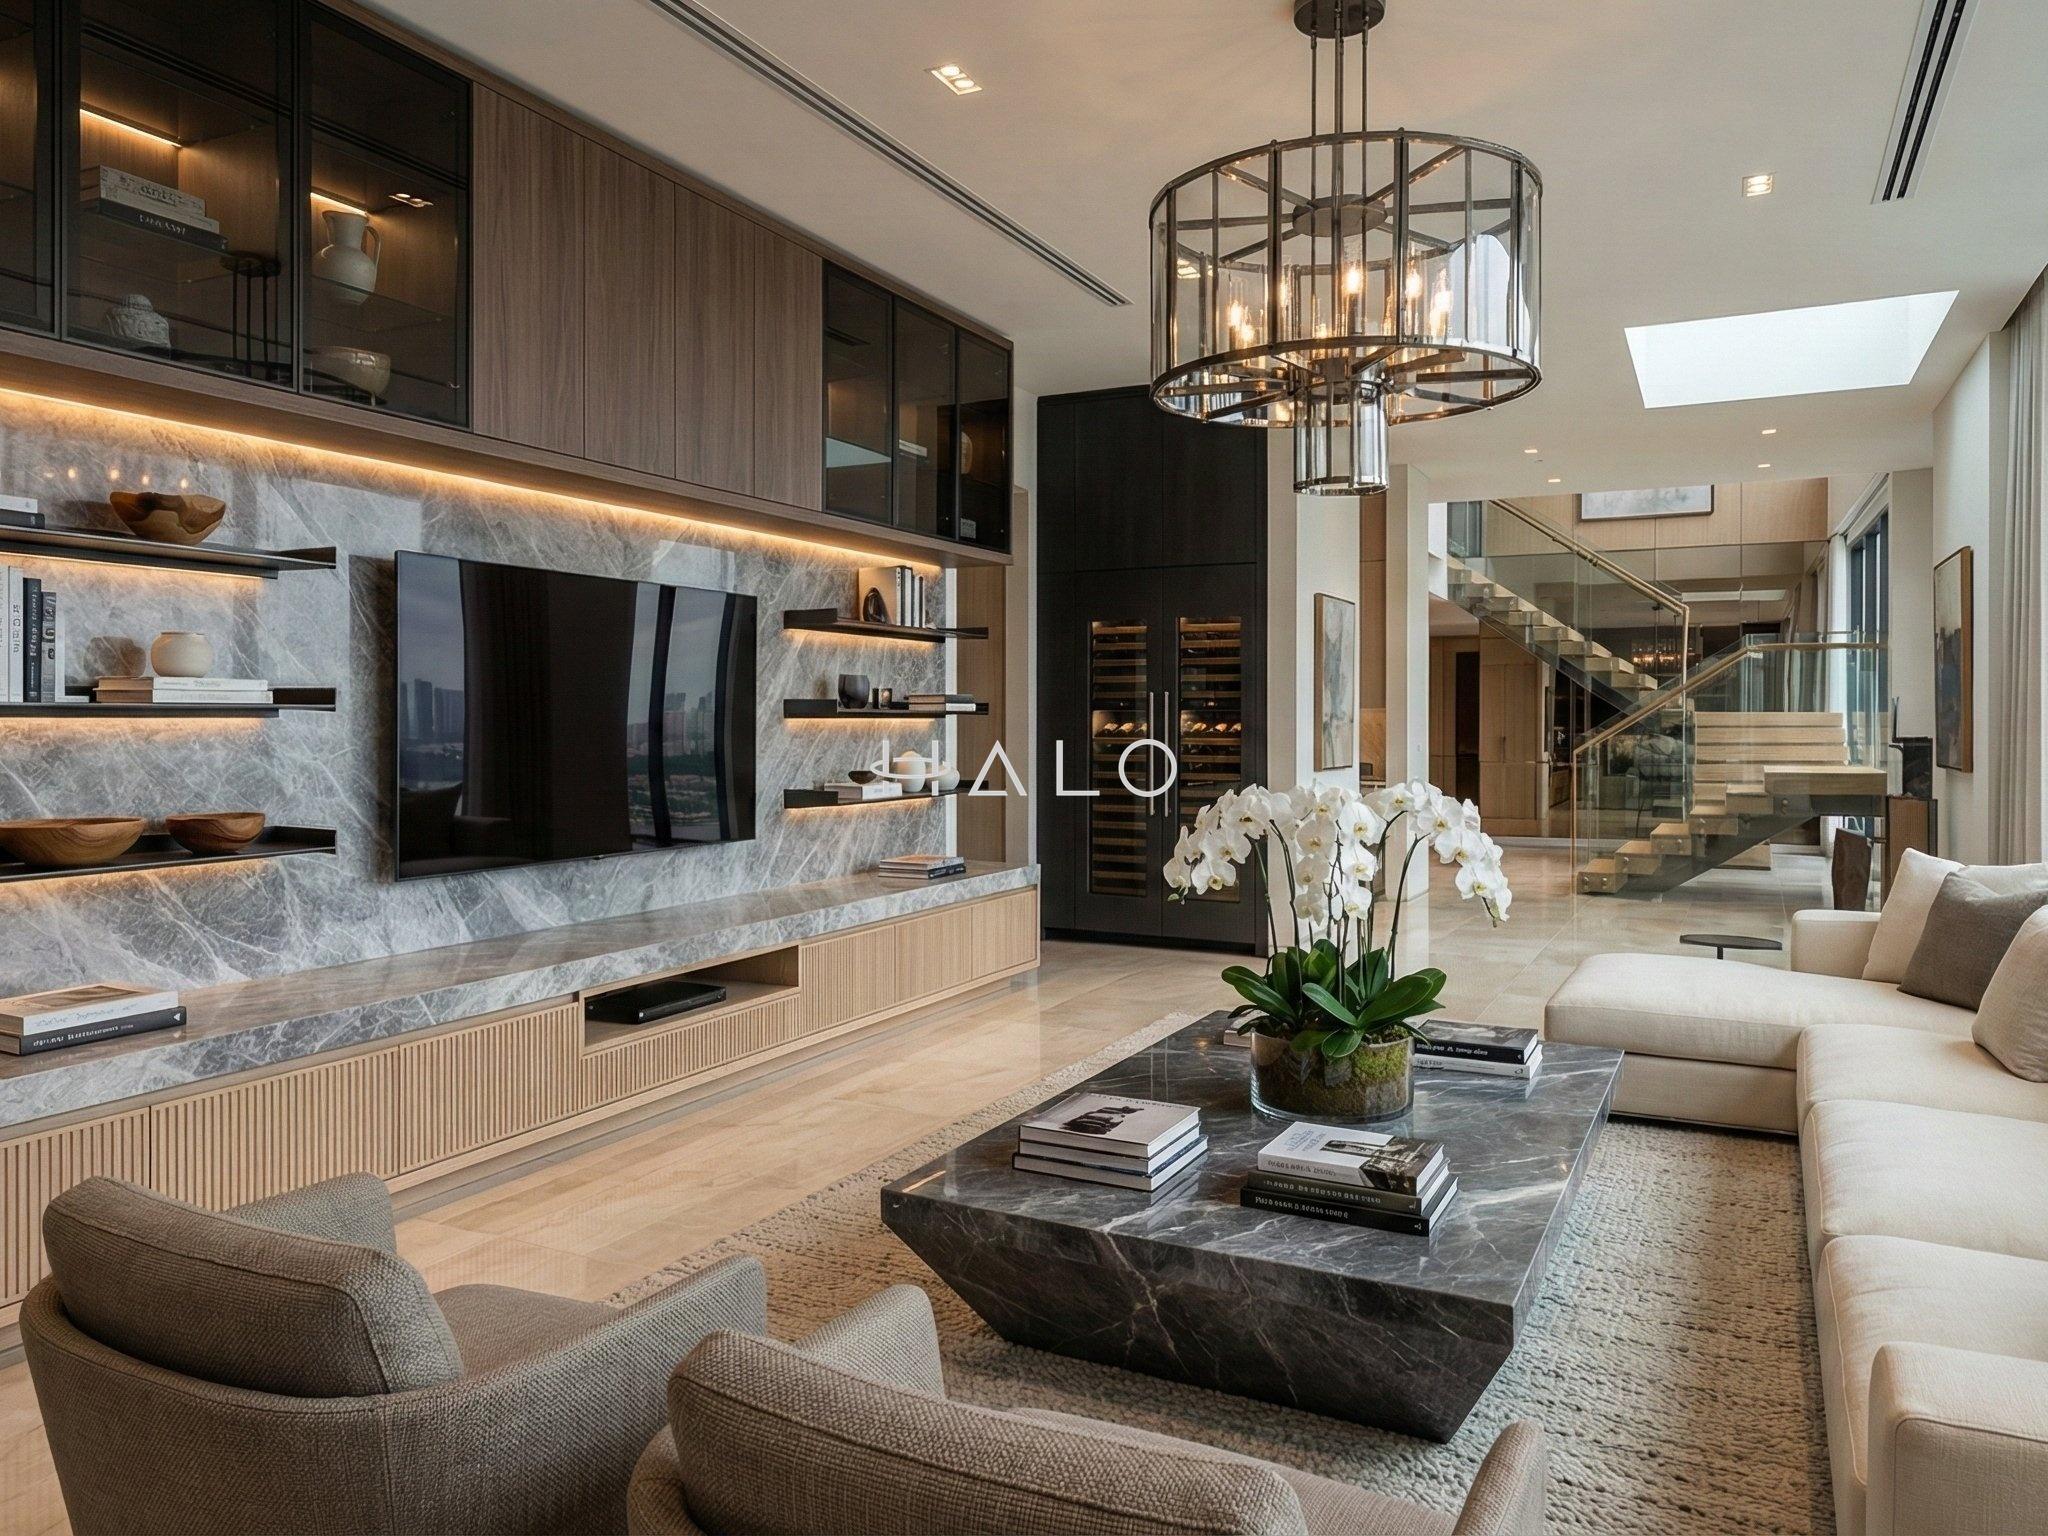
Interior lighting design should be agreed before the ceiling is closed, not after the room is decorated. For a Dubai home, the practical task is to give the fit-out team a room-by-room brief that shows what each light is meant to do, where it sits in relation to the ceiling, and what it must avoid.
That brief does not need to start with a long list of fixtures. Start with use: arrival, reading, cooking, dining, grooming, working, watching and cleaning. Then coordinate the light positions with air-conditioning grilles, ceiling levels, access hatches, curtain pockets and any bespoke joinery. The result is a plan the electrician, ceiling team and joinery team can read together.
Start with the room's jobs, not a lighting style
One room usually needs more than one kind of light. Write the activity first, then identify the light that supports it.
| Room or zone | Define the activity | Put in the brief |
|---|---|---|
| Entrance | Arrive, find keys, welcome guests | A clear route, an intentional focal point and switch positions that work on entry and exit. |
| Living room | Sit, read, host, watch | Separate ambient lighting from reading and display lighting; avoid relying on one central fitting. |
| Kitchen | Prepare, cook, clean, eat | Task light at work surfaces, light at the dining position where relevant, and a decision on where under-cabinet lighting stops and starts. |
| Bedroom | Dress, read, rest | Bedside control positions, wardrobe-lighting requirements and a plan that does not cast the user's shadow onto a mirror. |
| Home office | Work on screen, take calls, store documents | Controlled desk light, glare review at the screen and light inside or beside storage only where it assists the task. |
This is the point to agree what needs to be quiet and what can be a feature. A decorative pendant may anchor a dining table; it does not replace the working light needed elsewhere in the room.
Mark the ceiling plan before choosing final fittings
Ask to see the reflected ceiling plan alongside the furniture layout. A fitting can look correct in a product image and still be wrong for the space if it lands over the edge of a sofa, is off-centre to a table, or conflicts with a curtain pocket.
Use the following review sequence:
- Fix the furniture positions that the lighting depends on: dining table, seating, bed, desk, island and vanity.
- Draw the ceiling elements: drops, coves, curtain recesses, ceiling grids and any feature detail.
- Add the non-lighting ceiling items: AC diffusers, returns, detectors, speakers and access hatches.
- Place the functional lighting for each activity.
- Add decorative pieces only after their height, centreline and support are confirmed.
- Walk the plan from each doorway and key seat. Check sightlines, glare and whether a change in furniture position would leave a fitting stranded.
Treat air-conditioning and access as fixed constraints
An interior lighting plan is not complete if it ignores the systems sharing the ceiling. Keep a clear conversation between the design and MEP teams about:
- whether a proposed light position clashes with a diffuser, return-air grille, detector, speaker or access hatch;
- whether a continuous cove or feature ceiling leaves a sensible route for maintenance access;
- which ceiling line is intended to be visually dominant when lights, diffusers and grilles are all visible; and
- whether the control locations still make sense after door swings, joinery and furniture are set.
Do not solve this by moving every service to the least visible corner. Review the complete ceiling composition. If a room requires a revised ceiling detail, resolve it on the drawing before site work reaches that stage. Where a feature or backlit ceiling is part of the concept, stretch ceiling solutions and MEP and HVAC coordination should be reviewed together rather than specified separately.
Coordinate joinery lighting as part of the joinery drawing
Joinery lighting needs its own decisions. "LED in the wardrobe" is not enough for a workshop drawing or an installation review.
For each illuminated unit, agree:
- the purpose: finding clothing, displaying objects, lighting a worktop or creating a gentle evening layer;
- the exact location: inside a shelf, beneath a cabinet, behind a panel or beside a mirror;
- what activates it: a wall control, a door sensor, a scene or a separate local control;
- where the driver and access point are planned; and
- what surface the light will reveal, including veneer direction, textured paint, glass or metal.
In-house joinery helps here because the lighting decision and the cabinet detail can be reviewed together. The final detail still needs to be approved against the selected materials and room layout. See Halo's joinery service.
Ask for scenes in plain language
"Smart lighting" is too broad to approve on its own. Describe the moments that matter, then ask the technical team to translate them into a control approach.
For a living-dining room, that might be:
- Arrival: a comfortable route from entrance to seating.
- Hosting: table, conversation area and display lighting working together without making every surface equally bright.
- Quiet evening: low, indirect light with task lights available where someone is reading.
- Cleaning: enough general light to see the room properly.
The same exercise works in a bedroom, kitchen or home office. It also exposes missing controls early. If two activities need different light, they may need separate control rather than one switch governing the whole room. Where scenes and control positions matter from the outset, bring home automation into the same conversation.
A brief to send before fit-out starts
Use this one-page checklist at the design review:
- A furniture plan with fixed positions for the main pieces.
- A reflected ceiling plan showing lights and all other ceiling services.
- A schedule naming each light by purpose and location, not just by product code.
- Fixture dimensions, hanging heights and support requirements where a decorative light is proposed.
- A joinery drawing that shows integrated lighting, drivers and access.
- A controls note covering everyday scenes and switch locations.
- A site review point before the ceiling is closed and before joinery is manufactured.
- Confirmation that project-specific approvals, building rules and technical requirements have been checked by the appropriate parties.
This is also the information a contractor needs to coordinate the work properly. It lets the project team discuss buildability, ceiling construction, MEP routing and joinery interfaces from the same set of drawings.
Before you approve the lighting plan
Ask the design or fit-out team to show you one coordinated plan, then check these questions:
- Can I point to the activity each fitting supports?
- Have we checked every light against the furniture layout, not just the room outline?
- Are air-conditioning grilles, access hatches and other ceiling services visible on the same drawing?
- Does each illuminated joinery unit show a power, driver and access approach?
- Are switch and control locations usable from the way the room will actually be entered and used?
- Has the team scheduled a coordination review before ceiling closure and joinery manufacture?
If any answer is unclear, the plan is not ready for sign-off.
FAQ
Should I choose decorative fittings before the ceiling plan?
Choose the room concept early, but do not finalise a decorative fitting until its position, hanging height, support and relationship to the furniture and ceiling services have been reviewed.
Does every room need several lighting circuits?
Not necessarily. The useful question is whether the room has distinct activities that need different light. Define those activities first, then have the technical team propose an appropriate control arrangement.
When should joinery lighting be decided?
At the joinery-drawing stage, before manufacture. The drawing should show the light's purpose, position, activation method, driver location and access approach.