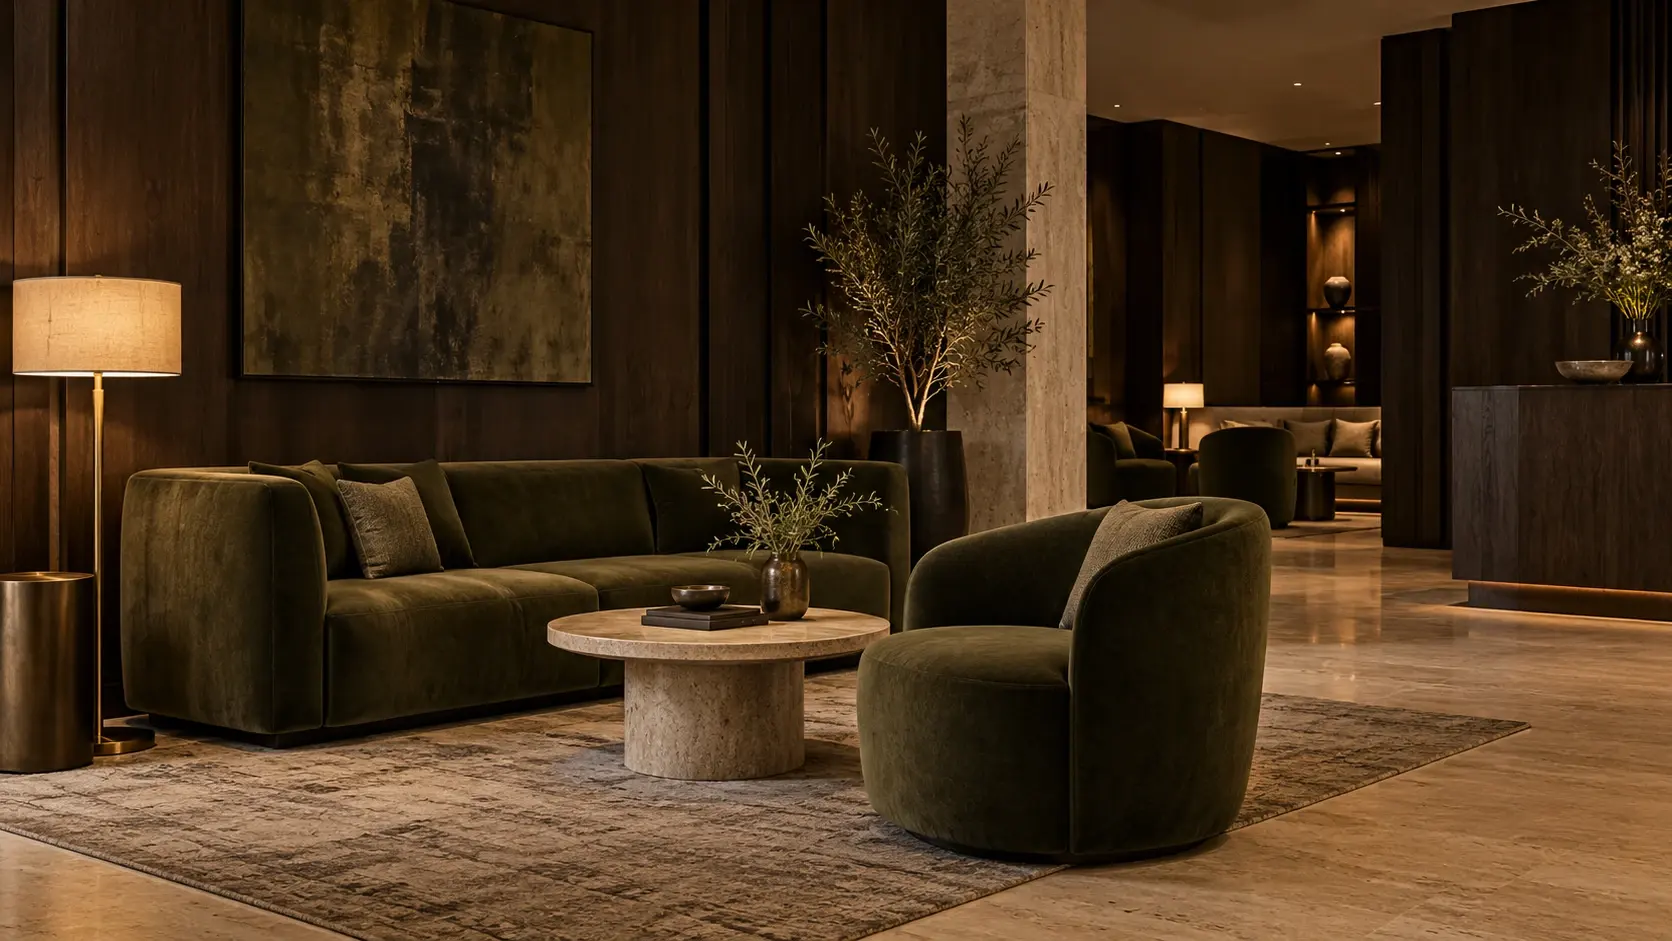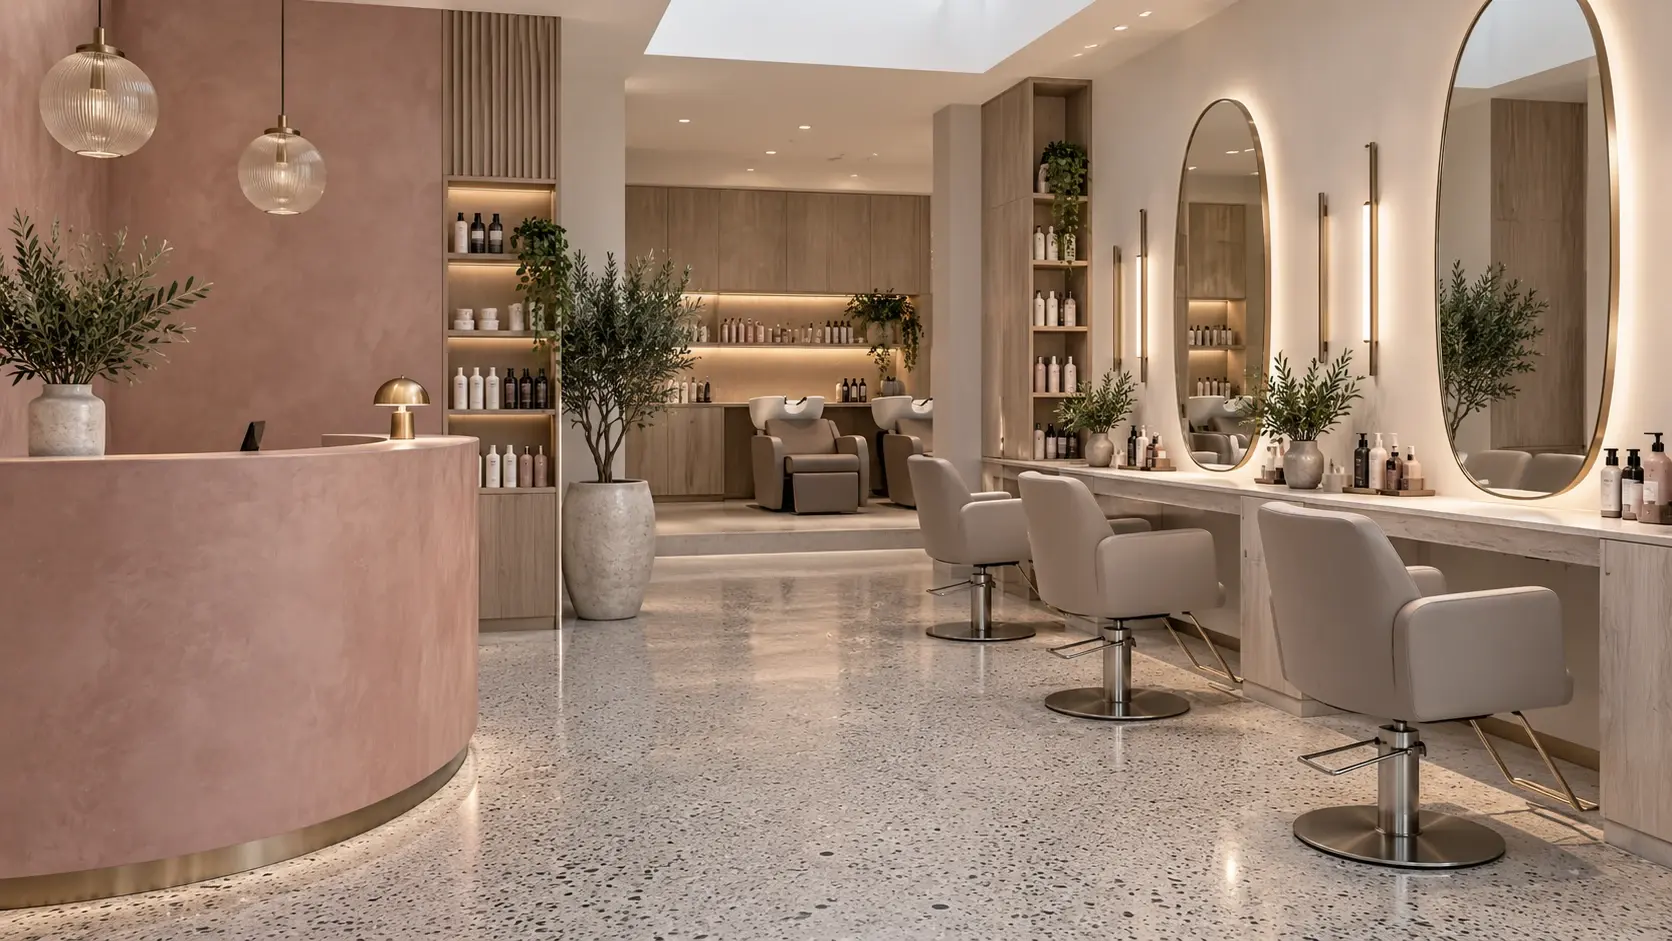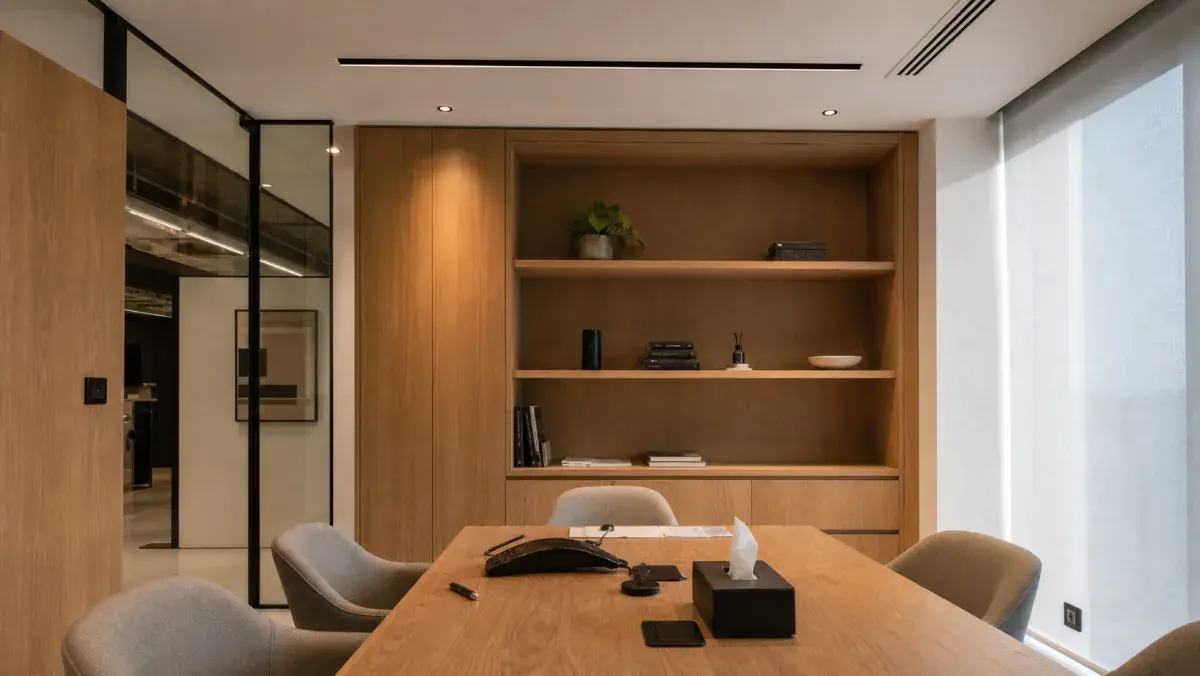
An interior design rendering is most useful when it helps the team make clear decisions before site work starts. For a Dubai office fit-out, use it to review how the layout, joinery, lighting and finishes work together. Then turn every unresolved interface into a technical action; a convincing image is not a substitute for coordinated drawings, specifications or authority requirements.
That distinction matters in the current July conditions. Gulf News reports intense daytime heat, warm nights and rising humidity across the UAE this month. A rendering can make ceiling, glazing, blind and diffuser locations easier to discuss, but it cannot demonstrate comfort or system performance. Ask the MEP team to verify those items separately, using the project’s actual technical information. DEWA’s summer guidance is a useful reminder that air-conditioning decisions deserve that technical check.
Start with the decision the render must support
Before reviewing images, write one sentence that explains the decision. Examples include:
- Confirm the workstation, meeting and circulation arrangement.
- Confirm the visual hierarchy at reception or in a client-facing room.
- Confirm which joinery elements need detailed drawings.
- Identify where ceiling, lighting, HVAC, power and data need coordinated information.
If a render is being asked to solve every question at once, the review becomes subjective. A focused review gives the team a traceable list: approved visual decisions, items to revise, and matters that require a drawing or engineer’s input.
Review the layout before the finishes
First, trace the route from the entrance through the workspace. Check that the image makes the following legible:
- Arrival, reception and visitor waiting positions.
- Main staff movement routes and access to meeting rooms.
- Door swings, storage access and any point where a chair, table or joinery door needs clearance.
- The relationship between enclosed rooms, open work areas and quiet spaces.
Do not approve a layout merely because the image feels open. Ask to see a dimensioned plan alongside the rendering. The plan establishes what fits; the rendering shows how that arrangement will read in use.
Inspect joinery as a buildable element
Bespoke joinery is often the most visible fixed element in an office image: reception desks, wall panels, storage, pantry units and meeting-room credenzas. The rendering should help you decide the intent, not guess the construction.
- Proportion and material direction: Review the overall proportion, material direction and relationship to the room in the rendering. Confirm dimensions, elevations, opening directions, hardware, edge details and service access in the technical package.
- Alignment with the room: Review visual alignment with floor, wall and ceiling lines. Record exact set-out, substrate requirements and interfaces with other trades in the drawings.
- Integrated lighting: Review the intended lighting effect. Confirm the fixture model, driver location, access, switching and electrical coordination before release.
Halo’s published office interiors page describes office delivery with custom joinery and MEP coordination. That is the useful hand-off: use the image to agree the visual direction, then require the interfaces to be captured in the appropriate drawings before fabrication or installation.
Use the ceiling view to surface coordination questions
A strong interior rendering can hide the services above it. During review, ask for a reflected ceiling plan or coordinated ceiling drawing whenever the image includes any of these elements:
- Linear lighting, pendants, downlights or feature lighting.
- Supply and return grilles, access panels or sprinklers.
- Bulkheads, acoustic features or changes in ceiling level.
- Full-height partitions meeting the ceiling.
For each element, ask who owns its final position, how access will work after handover, and which drawing records the decision. This is especially useful in July, when HVAC and glazing conversations are naturally prominent. The image may reveal a clash in visual terms; technical teams must confirm the system and compliance requirements.
Test the material story at close range
Renders are very good at communicating mood and poor at proving material performance. Review samples and technical information for anything that will be touched, cleaned, exposed to sunlight or used heavily.
Ask the design and delivery team to confirm:
- The actual finish sample and sheen, rather than relying on a screen image.
- Whether grain direction, panel joints and edge treatments are intentional.
- Cleaning and maintenance guidance for the proposed surface.
- Whether a material changes around glazing, wet areas, service openings or integrated lighting.
This avoids a common hand-off problem: approving an appealing visual treatment without agreeing the physical detail that makes it repeatable across the room.
Keep a rendering review register
End the meeting with a short register. It is more useful than a general request to “make it more modern”.
- Reception joinery: Confirm proportions and finish direction. The design or joinery team should provide an elevation, sample and approved hardware schedule before release.
- Meeting-room ceiling: Confirm visible locations and the access strategy. The MEP and design teams should provide a coordinated ceiling drawing.
- Glazing and blinds: Confirm visual intent and operational requirements. The design and technical teams should provide a specification and coordinated detail.
- Lighting scenes: Confirm the intended effect and controls. The lighting and electrical teams should provide fixture and controls information.
The register does not replace a project programme or approval process. It creates a clear bridge between an image review and the information that must be resolved before execution.
Halo field note
Halo’s published Halo 3D Studio page presents rendering alongside architectural draughting and technical design. Its published office interiors page also connects custom joinery with MEP coordination. For this topic, the practical lesson is simple: treat the render as the shared visual reference, and keep a separate record of every item that needs technical confirmation. No project-specific Halo example is claimed here.
A practical next step
Bring these four items to the next design review:
- The latest rendering and the matching dimensioned plan.
- A list of joinery elements that require elevations or samples.
- A reflected ceiling or coordinated-services drawing for rooms with lighting and HVAC features.
- A review register with one owner and one required piece of evidence for every unresolved item.
If you need rendering, draughting and execution to be reviewed as one coordinated package, Halo 3D Studio can be the relevant starting point.
FAQ
Does an interior design rendering replace technical drawings?
No. It communicates the visual intent. Dimensions, interfaces, material information and services coordination need their own controlled technical information.
What should be approved from an office rendering?
Approve the visual decisions the image makes clear: space character, overall layout direction, joinery proportions, lighting mood and material direction. Record everything else as a question for plans, elevations, schedules or technical review.
Why review HVAC and lighting when looking at a rendering?
Because the image shows where they appear in the room. It can help the team spot visual conflicts, but the relevant technical team must verify performance, access and project requirements.